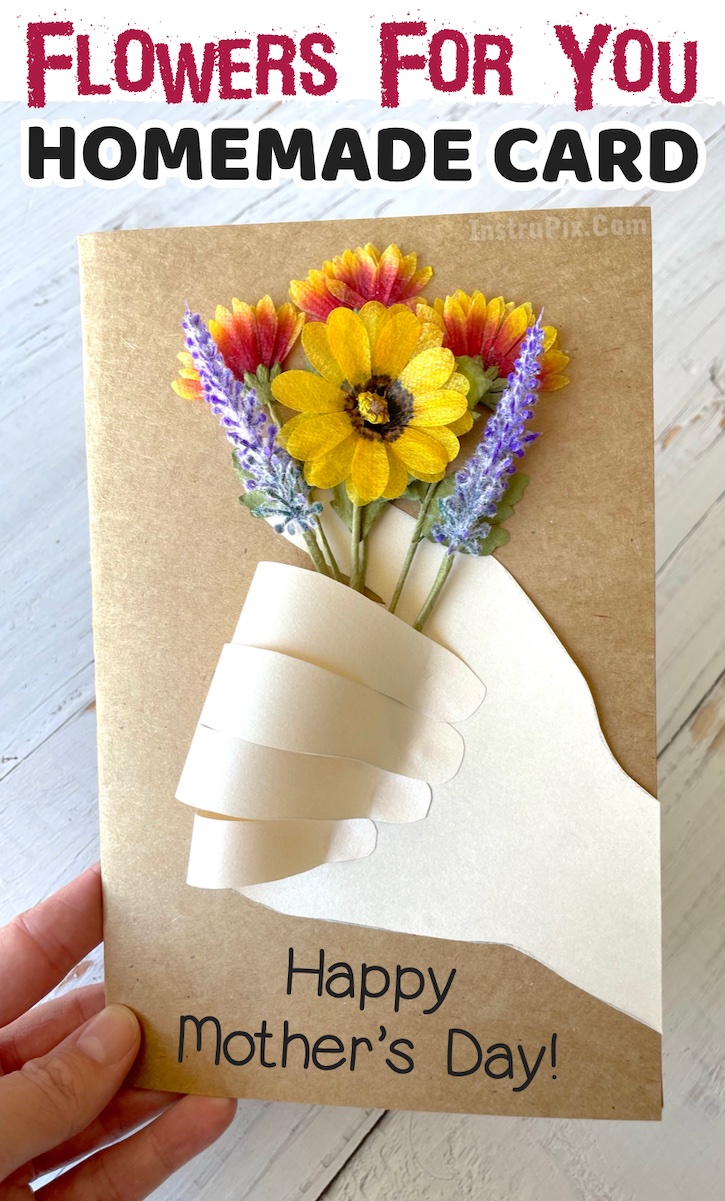
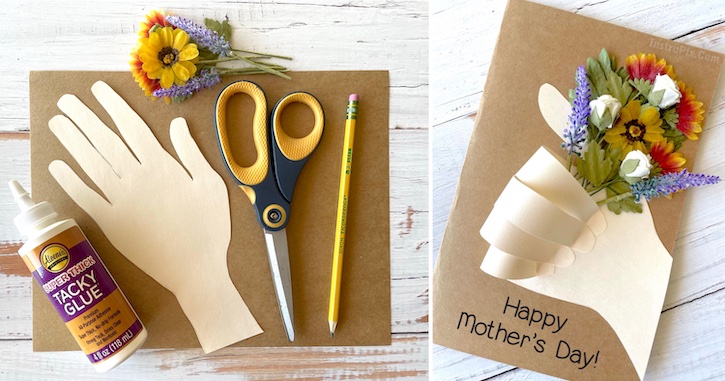
DIY Flower Bouquet Card With A Creative Handprint Cut-Out
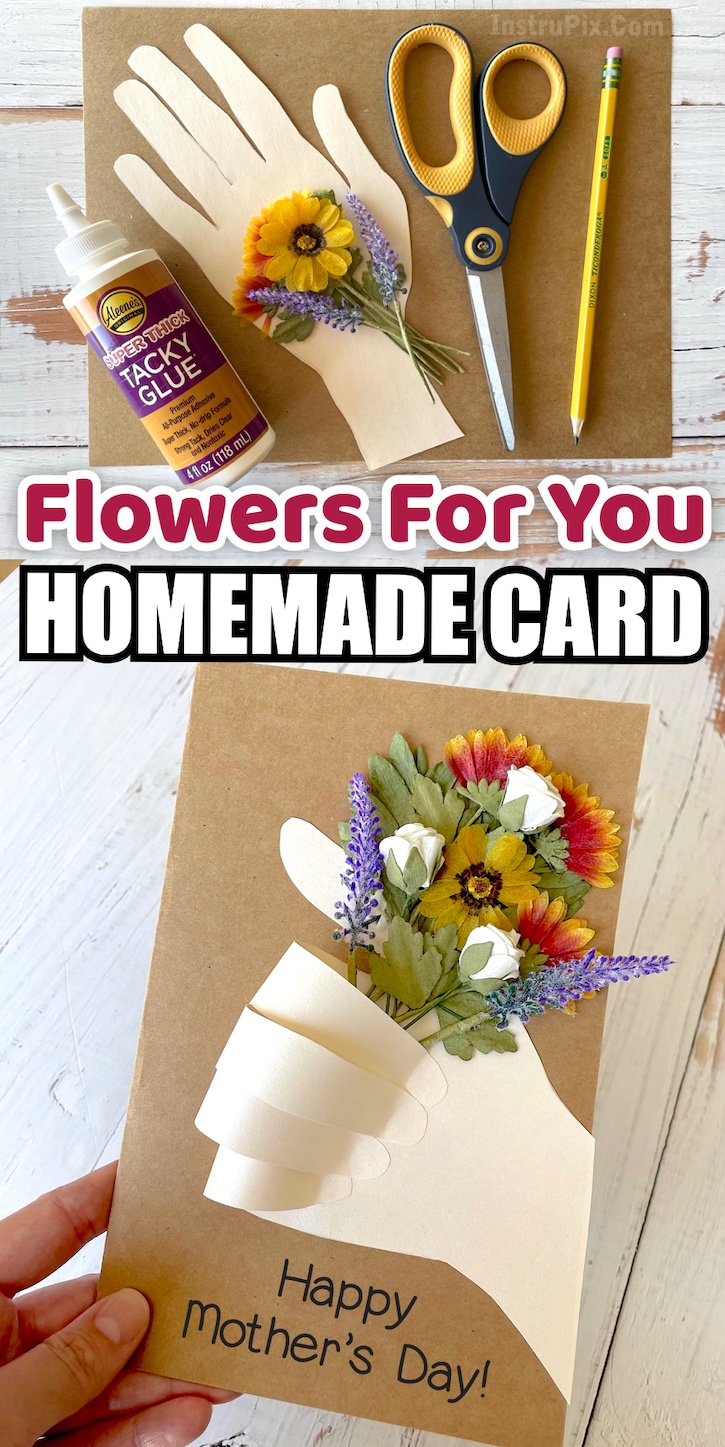
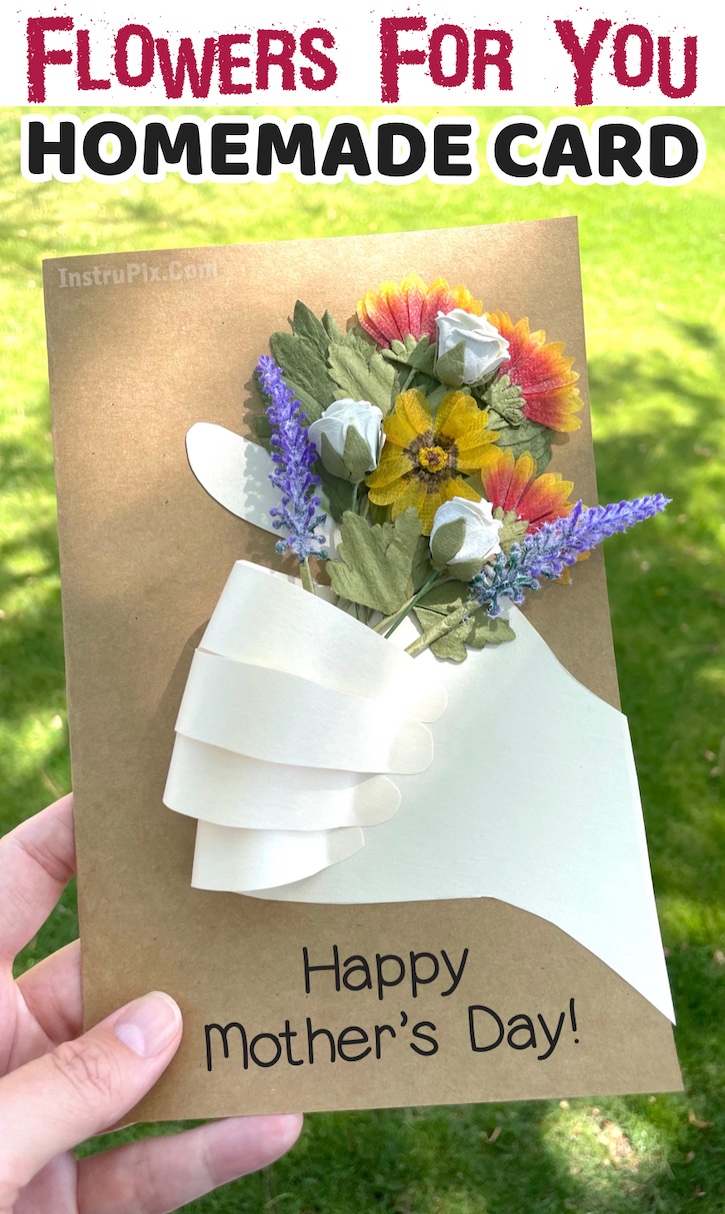
If you’re searching for unique and meaningful homemade gift ideas, look no further than this delightful spring flower card! With the freedom to customize the card with the flowers of your choosing and colorful cardstock, this is the perfect opportunity to get creative. The best part? This easy craft is enjoyable for both kids and adults! My teenage daughter and I had a blast creating these stunning cards together, making for a memorable bonding experience.
This creative DIY card is a beautiful and heartfelt way to show your love and appreciation for moms, grandmas, teachers and spouses on special occasions.
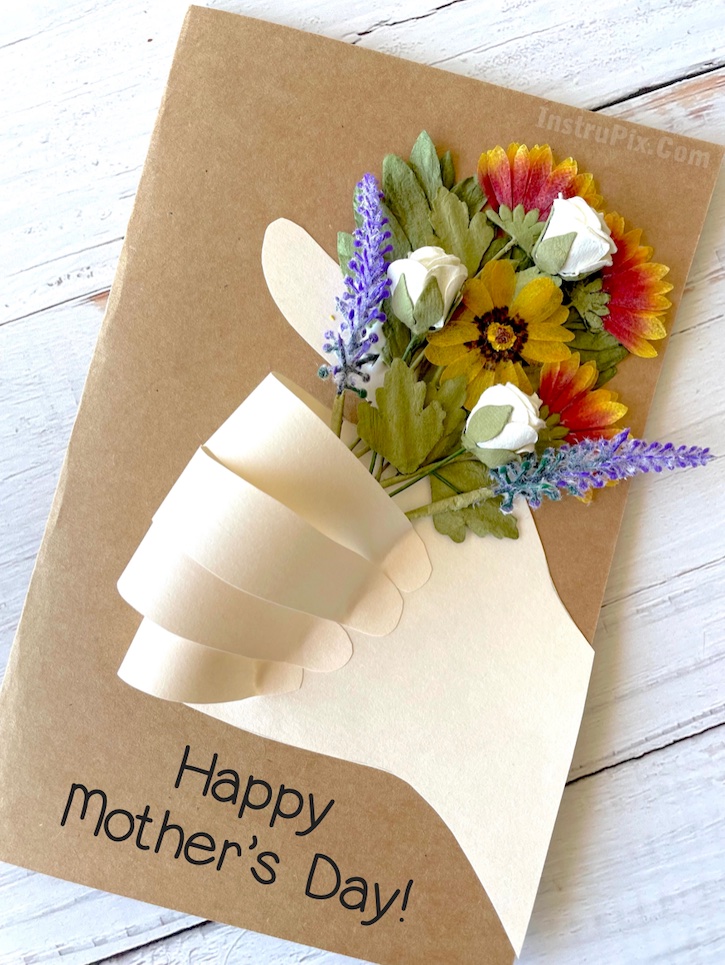
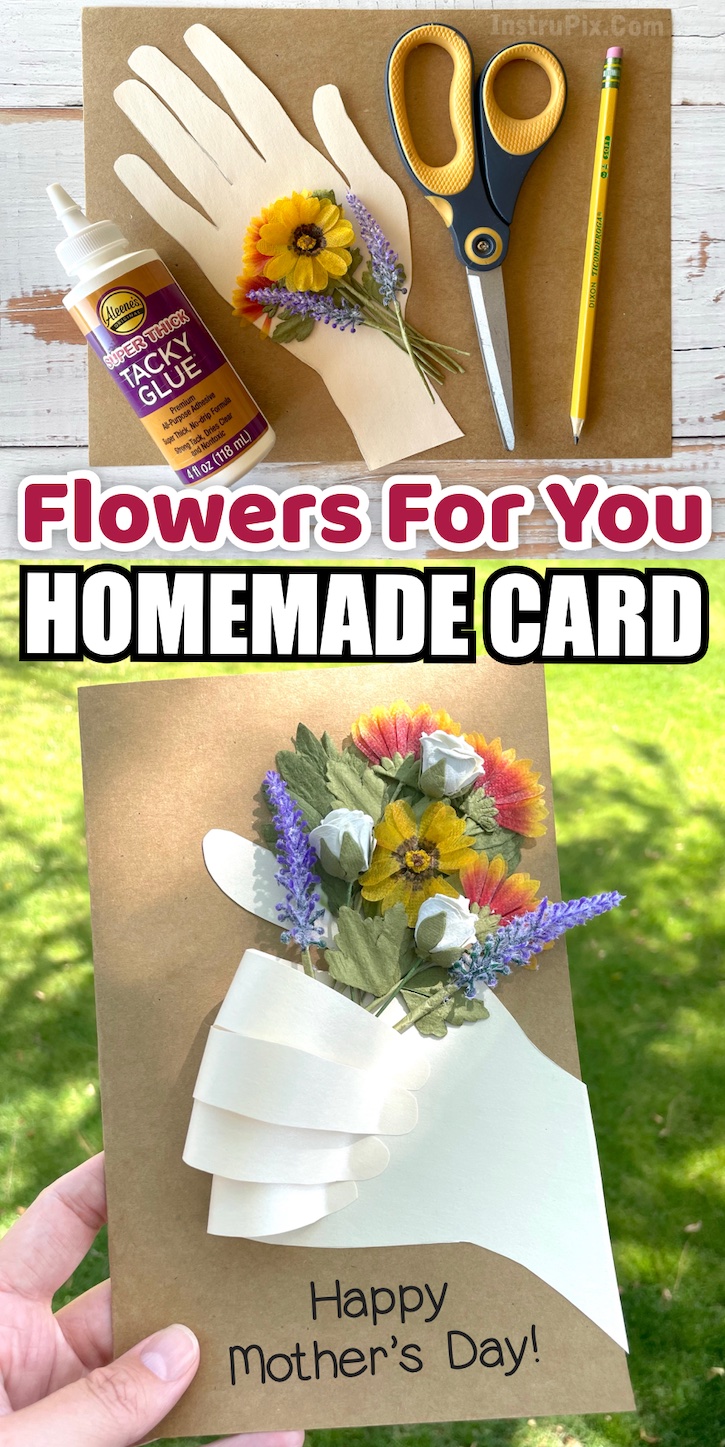
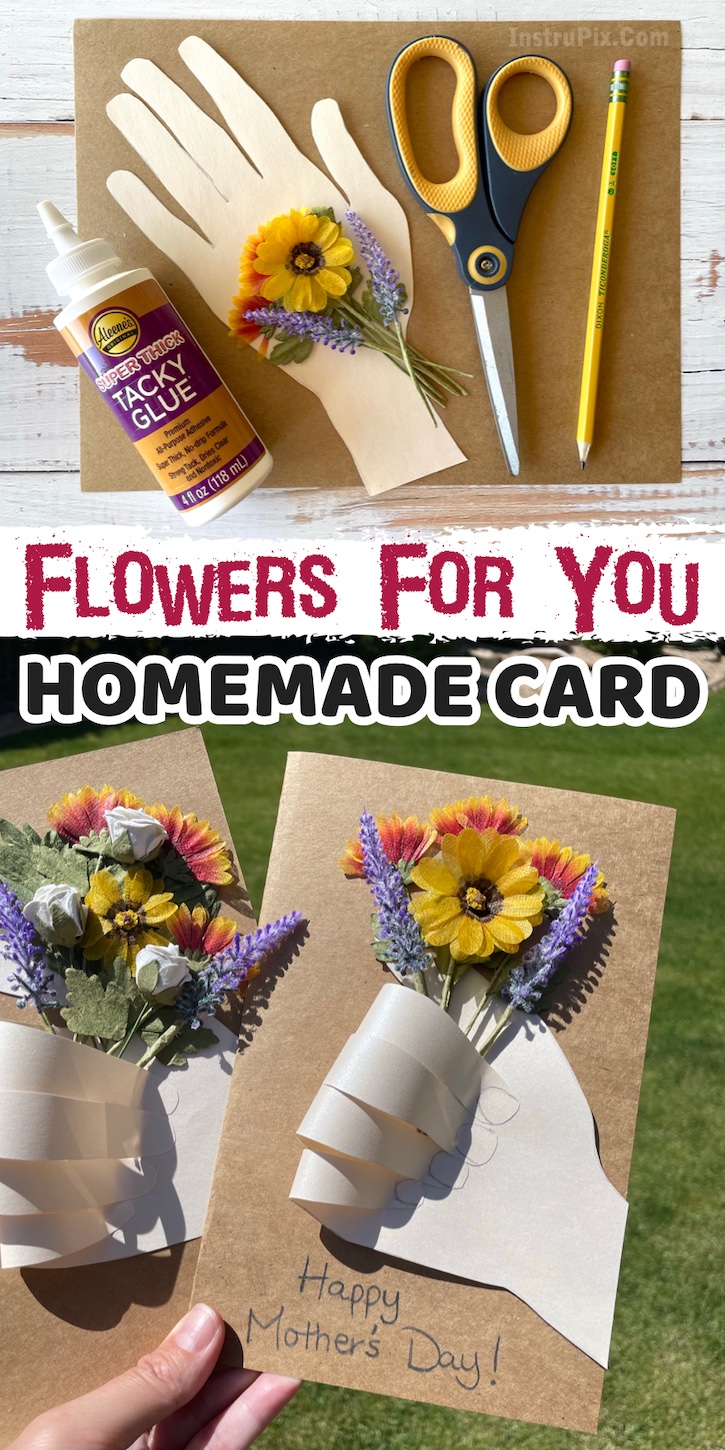
Supplies Needed
- 8.5×11 cardstock
- skin colored paper
- scissors
- glue
- pencil
- flowers
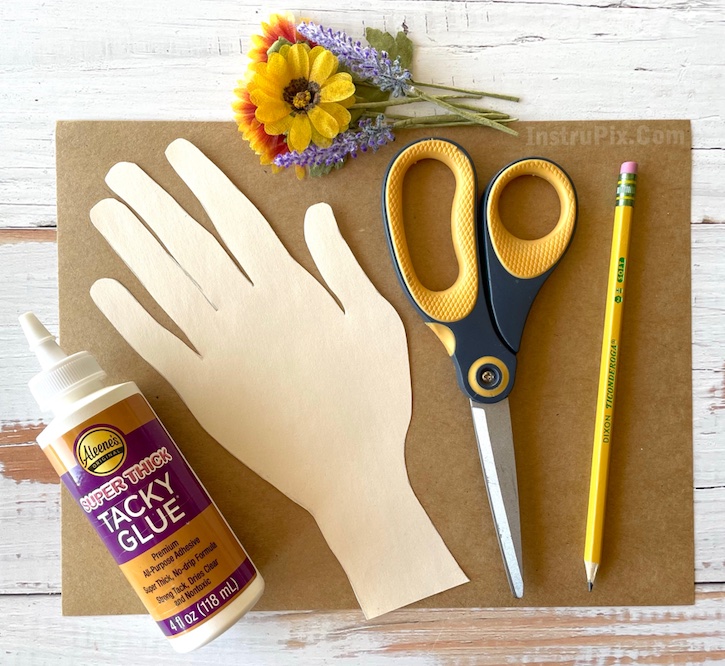
Flower Ideas
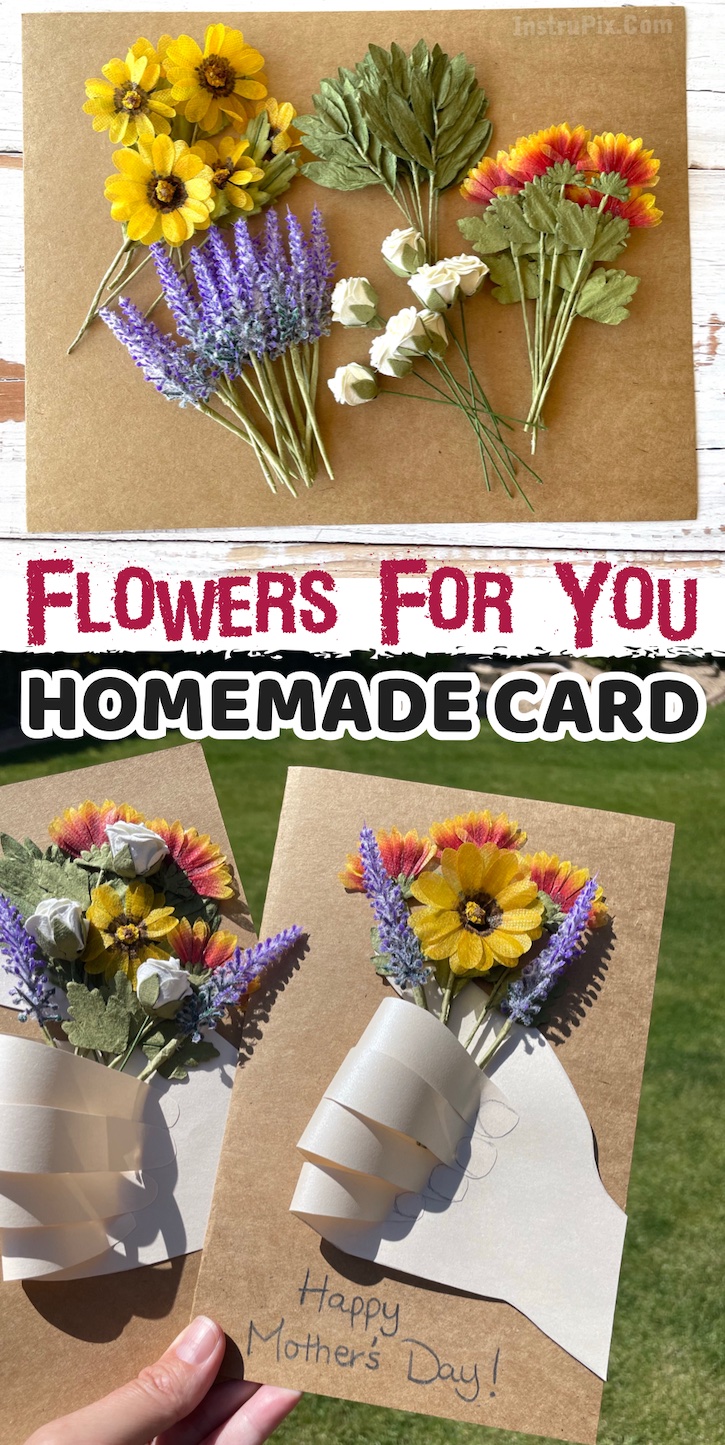
Any kind of flowers can be used for this project! I purchased these faux flowers from Hobby Lobby, however, you can use flowers from your yard, dried flowers, or even make your own flowers with colorful construction paper.
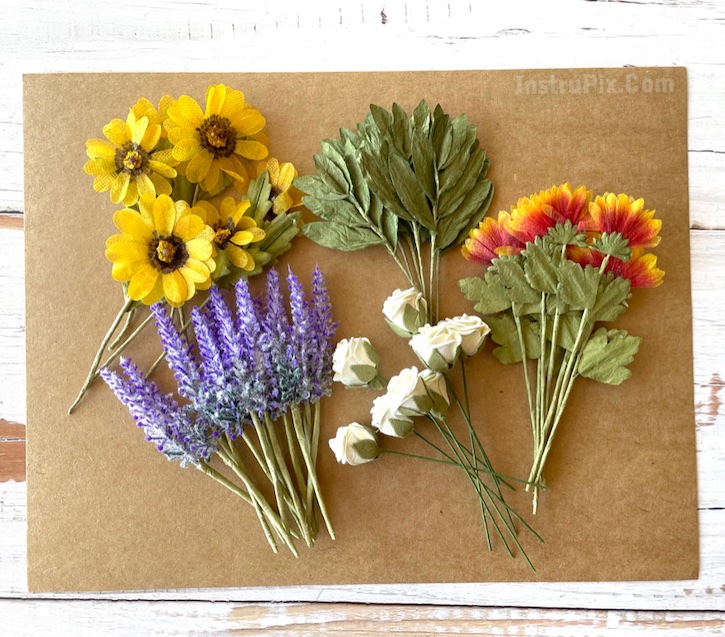
DIY Flower Bouquet Card
While store-bought cards can be convenient, there’s something truly special and heartfelt about receiving a homemade card. The effort and thoughtfulness put into creating your own card makes it stand out as a cherished and memorable keepsake. So, gather your supplies and let’s showcase your artistic abilities!
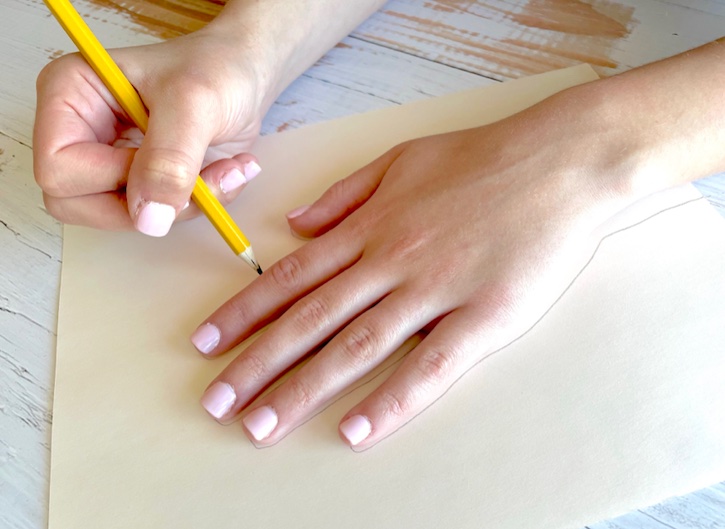
Step OneStart off by tracing your hand as well as part of your wrist onto an 8.5×11 piece of skin-colored paper. When making this project with my daughter, I decided to keep the fingers close together to resemble what a hand would actually look like when holding a bouquet. Also, It didn’t seem to matter which hand was traced even though it’s the right hand holding the bouquet.
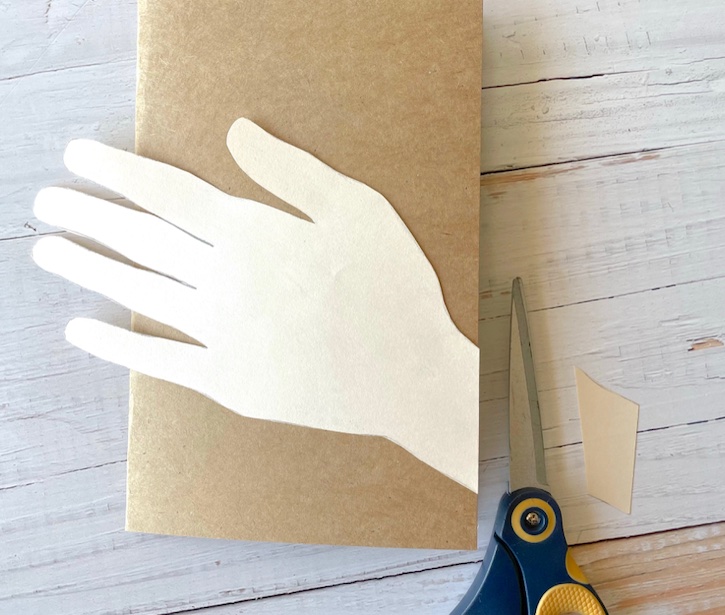
Step Two Use a glue stick or double sided sticky tape to adhere the hand to a folded piece of cardstock. DO NOT use a thick squeezable glue such as tacky glue because you can clearly see the glue bumps through the paper. After your paper hand is attached to the cardstock, cut off any excess.
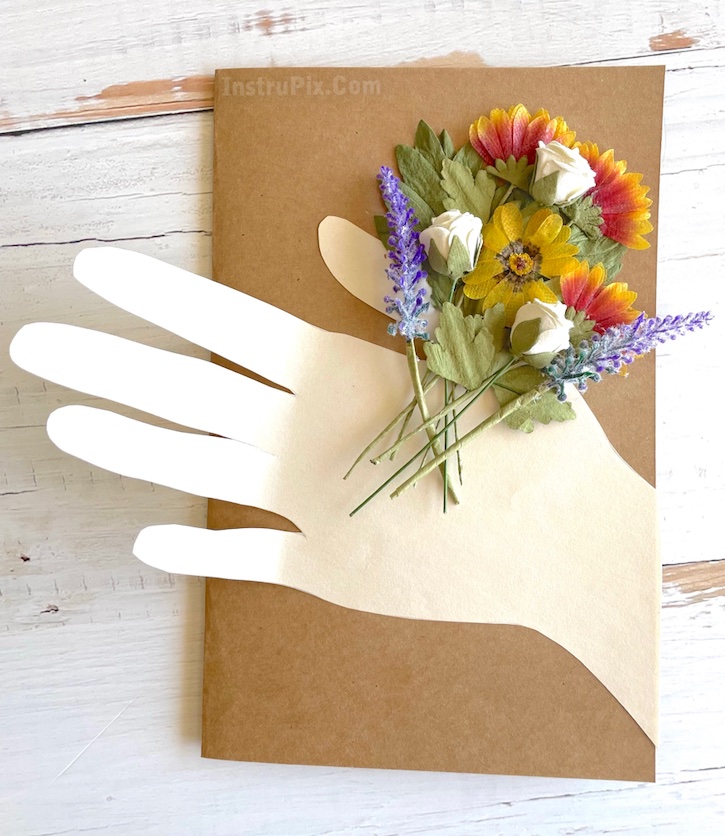
Step Three Next, use a strong glue such as tacky glue or hot glue to adhere the flowers into place. I discovered after making several of these that’s it’s best to angle the flowers so that the thumb is still partially showing.
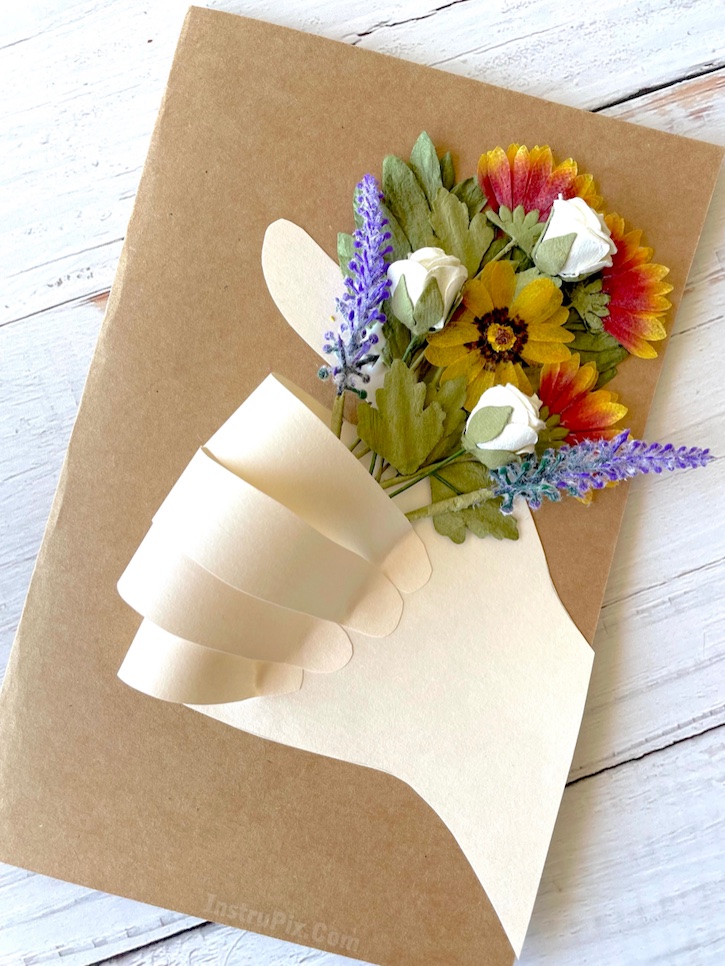
Step Four Fold the fingers over the flower stems and glue them down one at a time. After some trial and error, I found that the paper looks more like a hand when the fingers are slightly staggered in height because the shadows help make each finger look more distinguishable. Does that make sense?
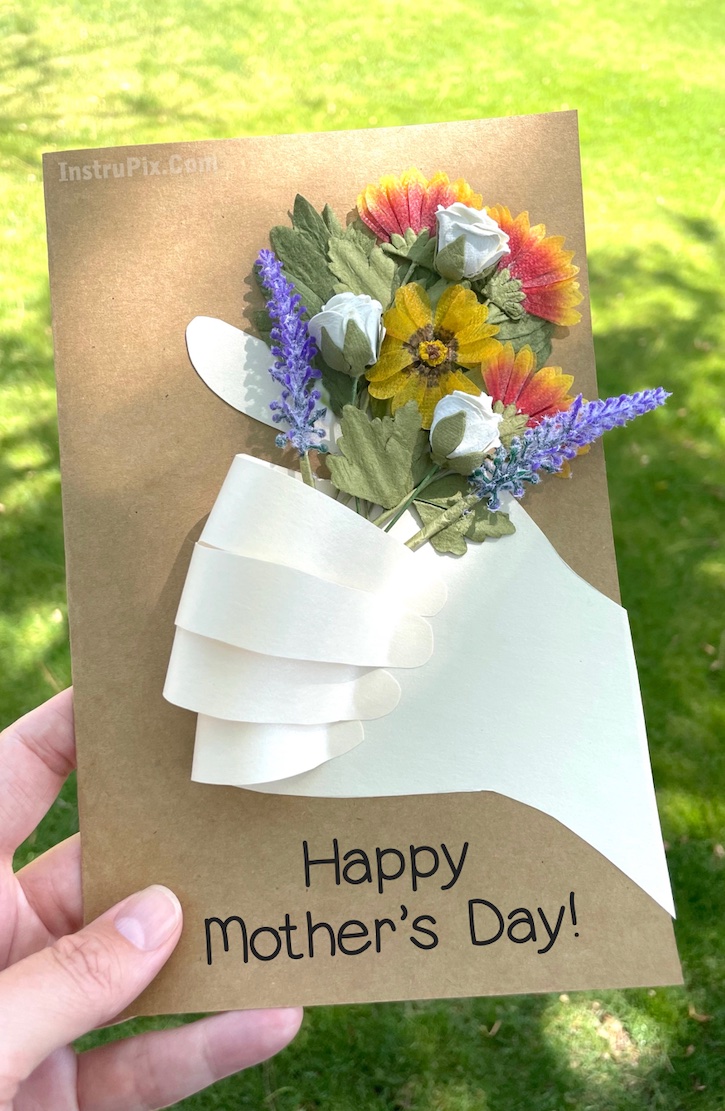
Step FiveAdd a special message or a personal touch to make the card even more meaningful. You can handwrite something or even use stencils or letter stickers to say something special such as “Happy Mother’s Day”, “I Love You”, “Happy Birthday”, etc.
Helpful Tips
- Any color of cardstock can be used! I chose a natural color because I’m extremely boring. I also thought it would help the colorful flowers pop.
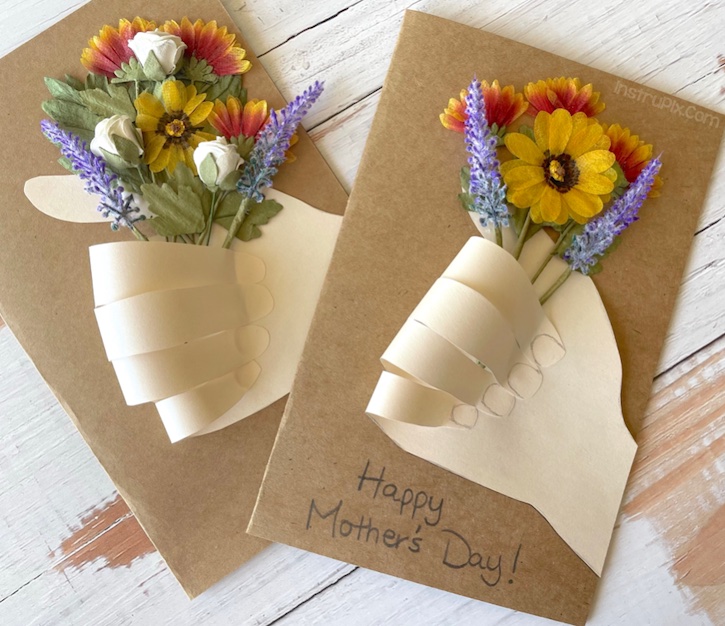
- You can additionally draw or paint some fingernails on. And, how about a beaded bracelet for the wrist? Why not! Have fun with it. Any added details will make the card more interesting.
- Because I wasn’t sure if the hand would bend properly with cardstock, I chose a thinner paper for the hand.
- If you don’t want to go out and buy skin-colored paper, you could just use printer paper and color it, or even use construction paper in a whimsical color such as yellow or purple. There’s no right or wrong way to do this!
- Be sure to use a glue stick or double sided tape when applying the hand to the cardstock. The paper is thin, so any thick glue will make it look bumpy. However, a sturdy glue is best for the flowers and for holding the fingers in place.
These handmade flower cards are a wonderful way to show your love and appreciation for the special women in your life, while also enjoying a fun and rewarding activity!
