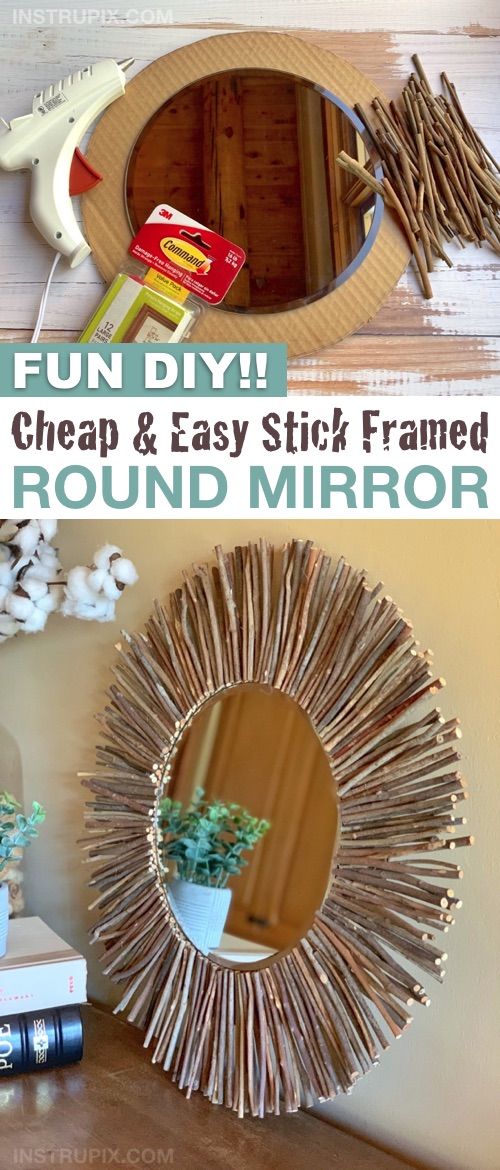
Rustic & Modern DIY Project To Try
I saw these round 10 inch mirror plates at Hobby Lobby for $6 and knew there had to be a cool way to frame them. Unfortunately, I don’t have any wood working skills, so I had to come up with something creative for this project.
I’m definitely a rustic kind of gal, so the first thing that came to mind were sticks! But how would I attach them? Hmmm. Cardboard. Ok, now I’m getting somewhere. Cardboard is nice and all, but how would I hang it on the wall? Dang it! This is never going to work.
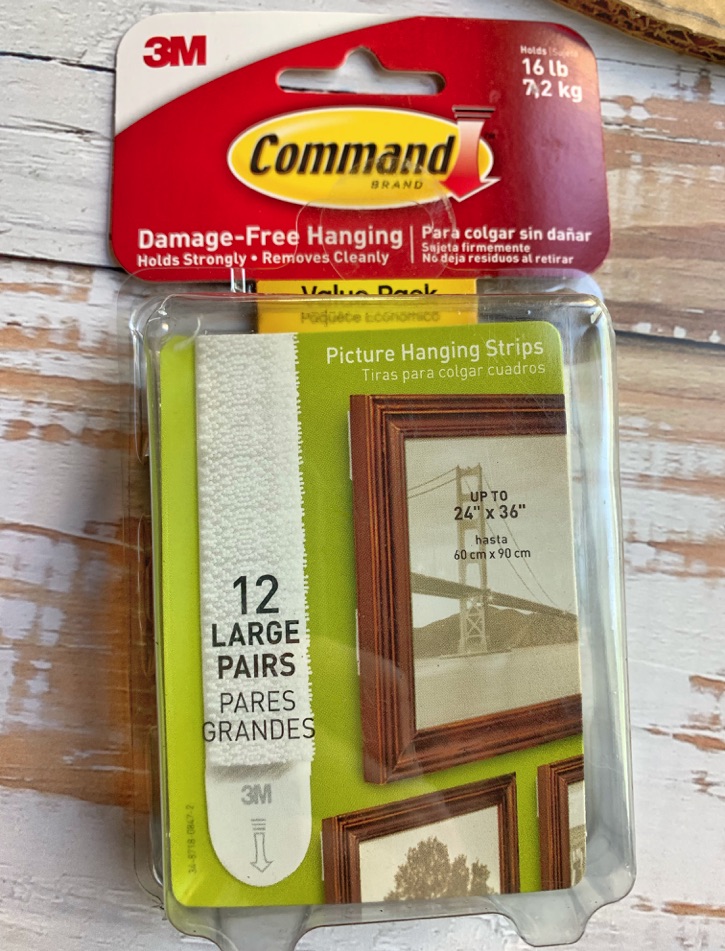
A few weeks later, I stumbled across those Command strips for hanging frames. Bingo! Each strip holds up to 4 pounds, and this mirror has got to weigh less than half of that.
So the project began…
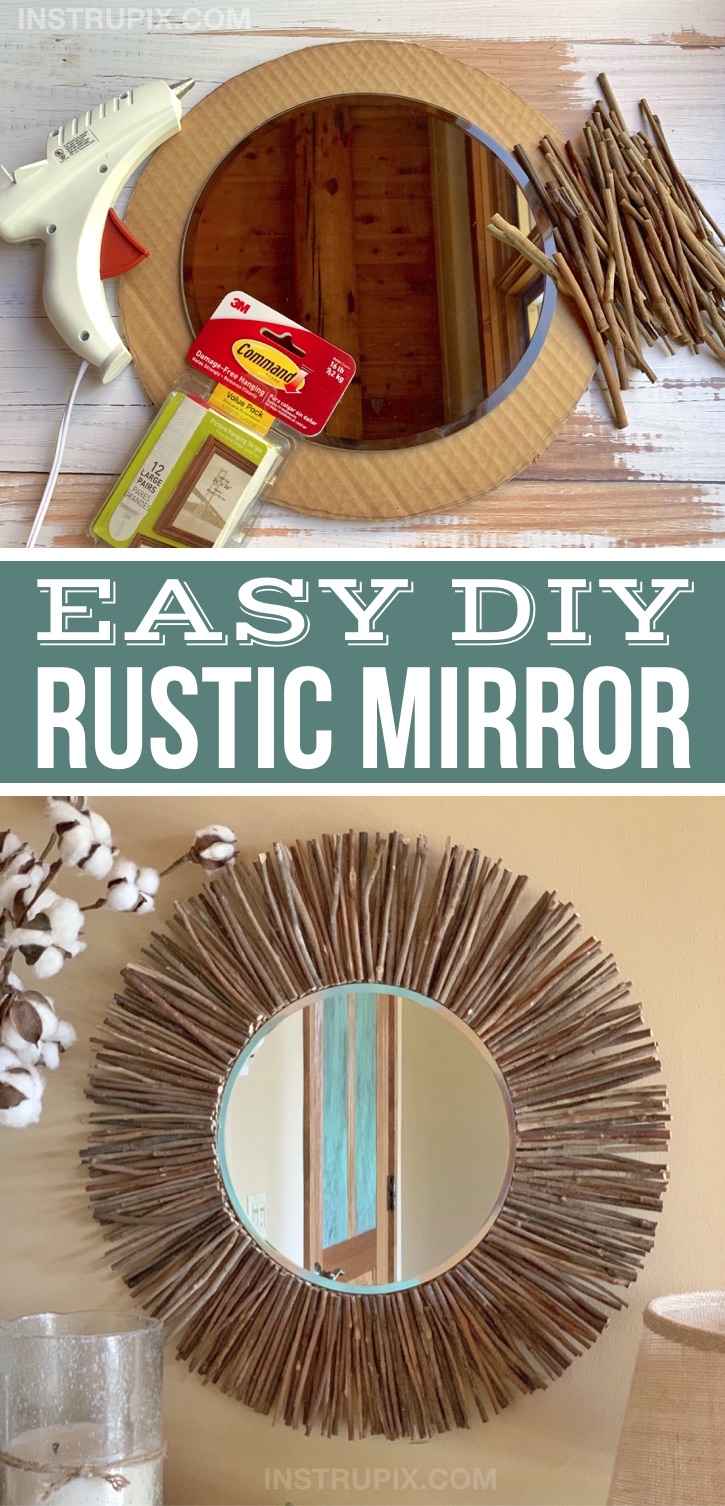
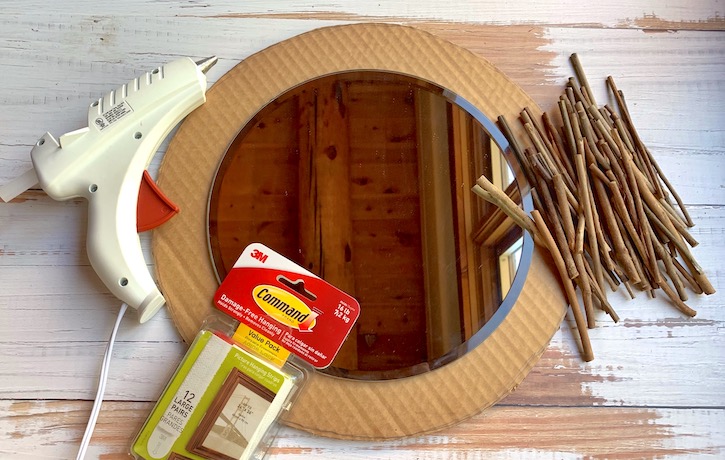
Supplies Needed
- 10 inch round mirror plate (or any size you’d prefer)
- A piece of cardboard large enough to give the mirror at least a 2 inch frame
- Lots of sticks (I cheated and bought mine here because I live in the desert and I’m too lazy to go to the park)
- Hot glue gun
- Box cutter or razor blade for cutting the cardboard
- Pencil
- Picture hanging Command strips (if you plan on hanging it on the wall)
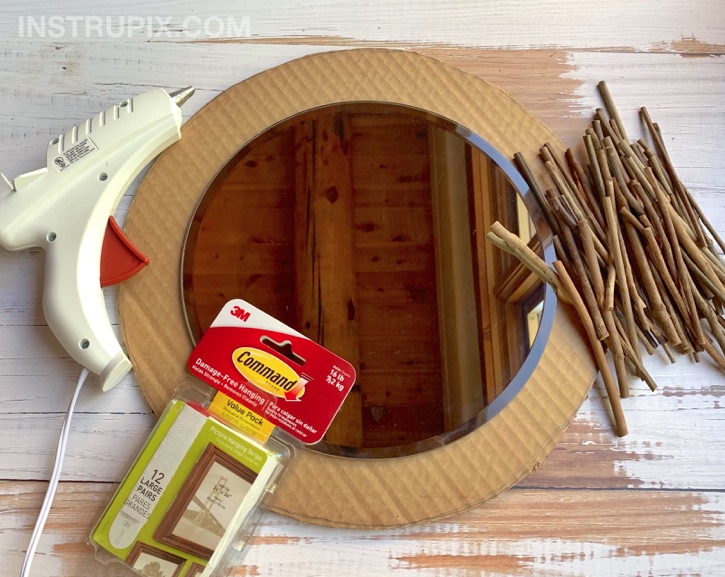
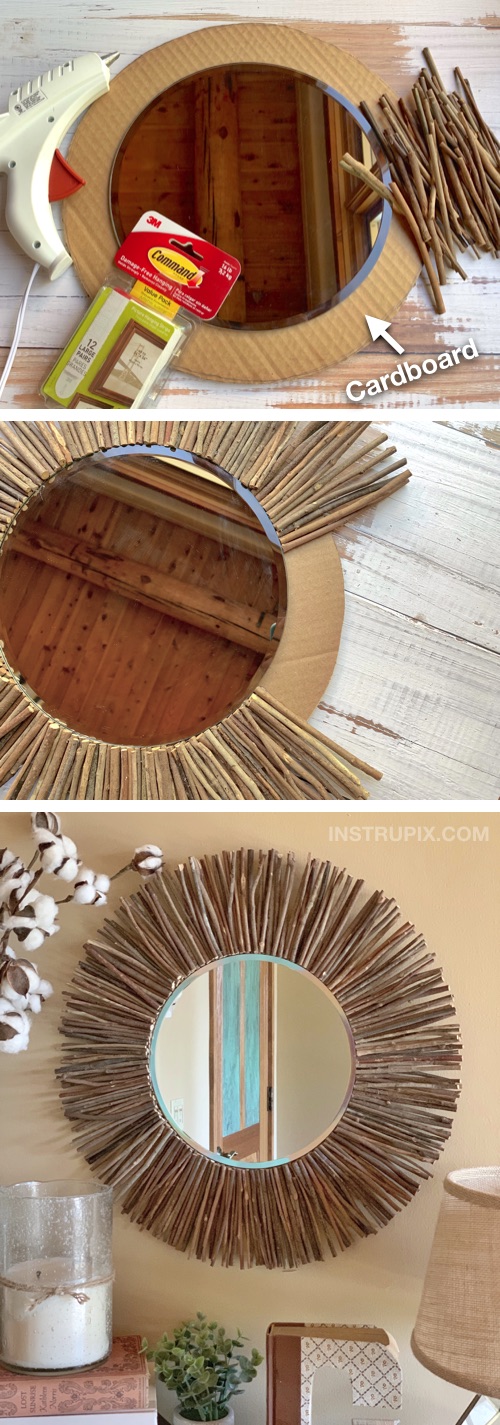
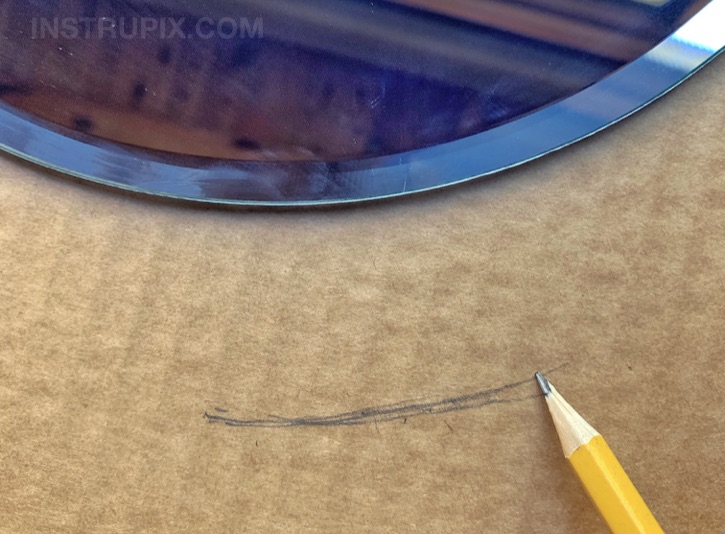
Step One Place the mirror on top of your cardboard and use a pencil to trace a frame around the mirror large enough to hold your sticks. I made my outline about 2 inches from the edge of the mirror, but the larger you make it the more sturdy your sticks will be.
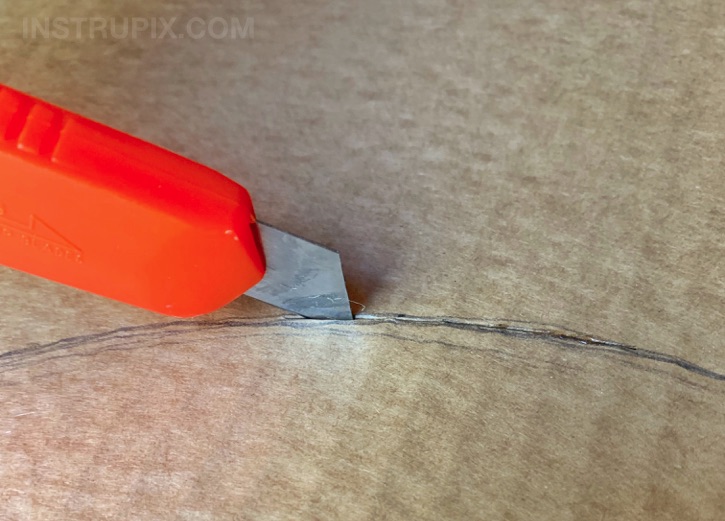
Step Two Simply use a box cutter to cut out your traced circle. I tried using scissors first and almost had a melt down/mild heart attack. A sharp blade works best!
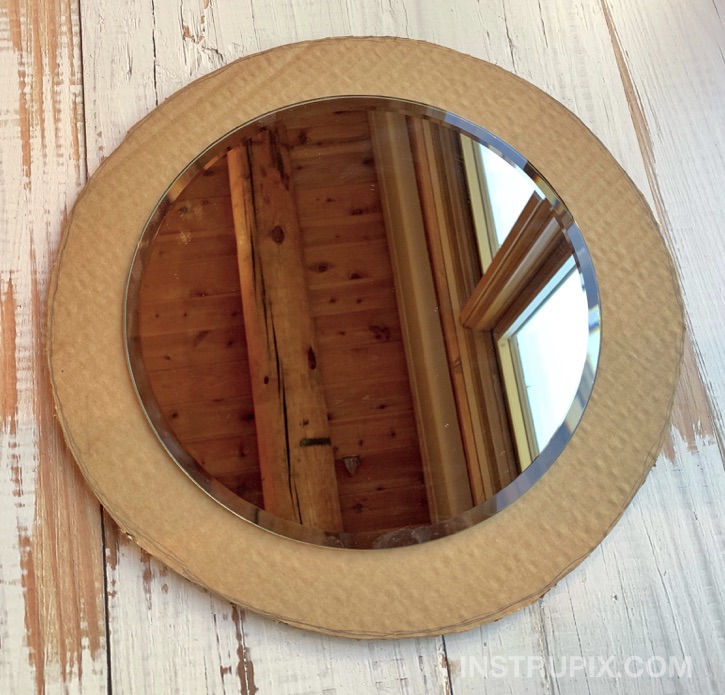
Step Three Hot glue the mirror directly onto the cardboard, centering it as evenly as possible. You will NOT be able to move it once you put it down, so it may be a good idea to trace a circle around the mirror first so that you have a good visual once you’re ready with the glue.
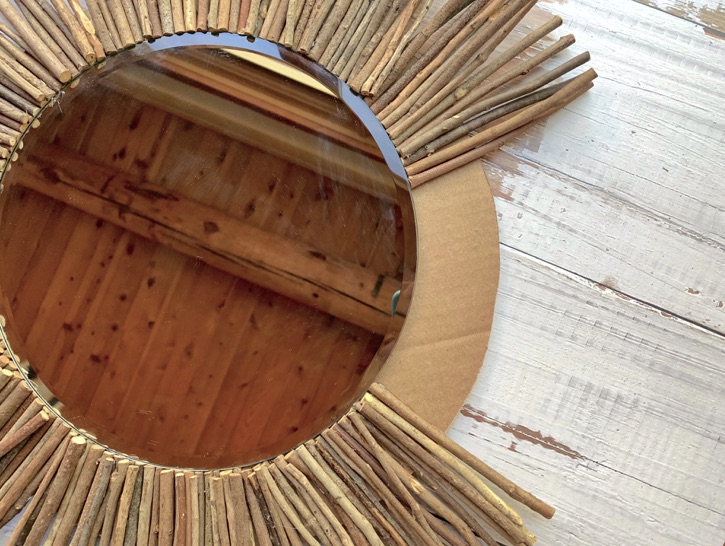
Step Four Start gluing your sticks onto the cardboard right along the edge of the mirror. Slowly move your way around until the entire cardboard frame is covered. Once I got all the way around, I layered more sticks on top until I was happy with the outcome. You definitely need quite a few sticks to completely cover the cardboard (you will also need to be a little picky about which sticks go next to each other as they all tend to bend and curve in different directions).
***If you are using sticks you’ve collected, you may need to trim them to size first. However, I think that sticks of varying lengths to create a starburst look would be awesome, too.***
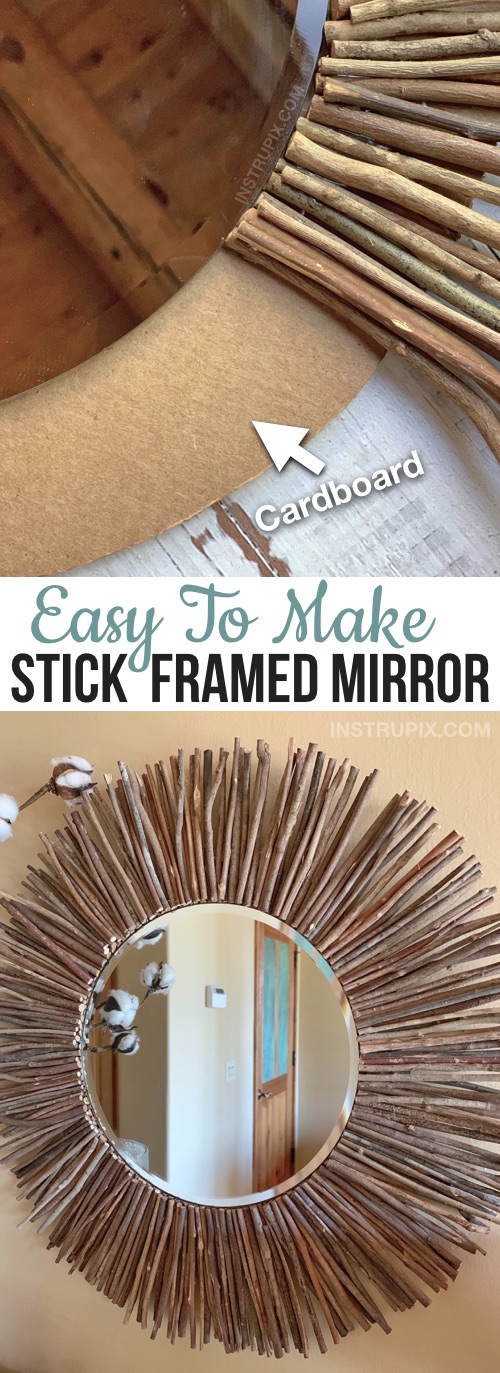
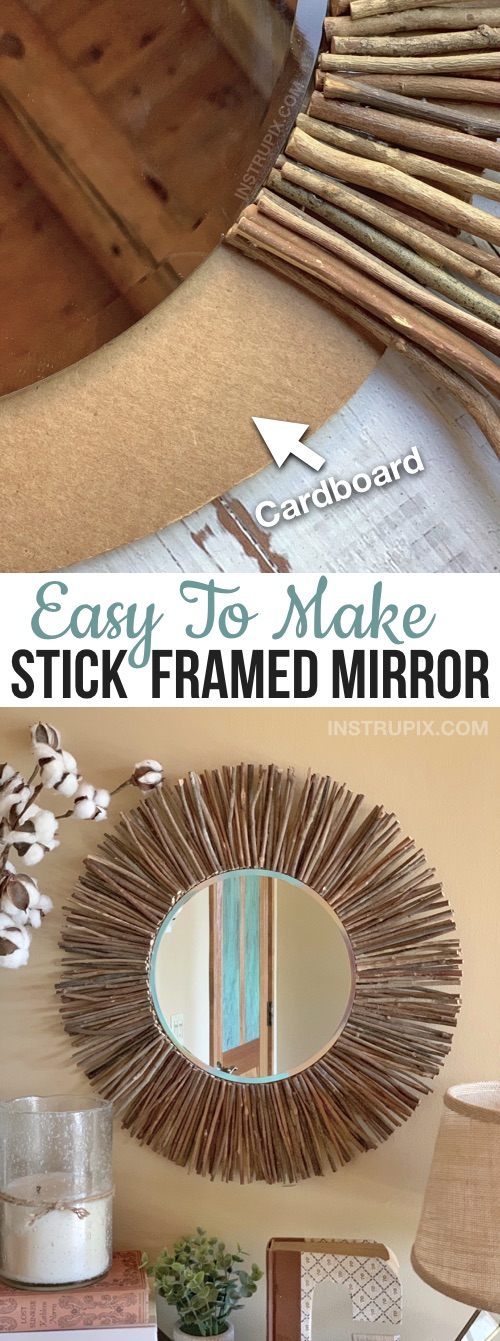
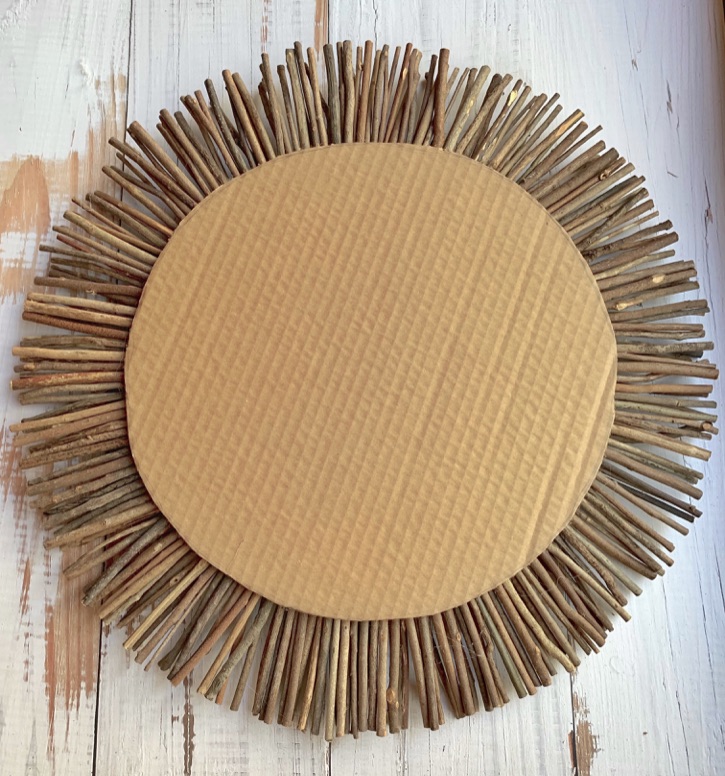
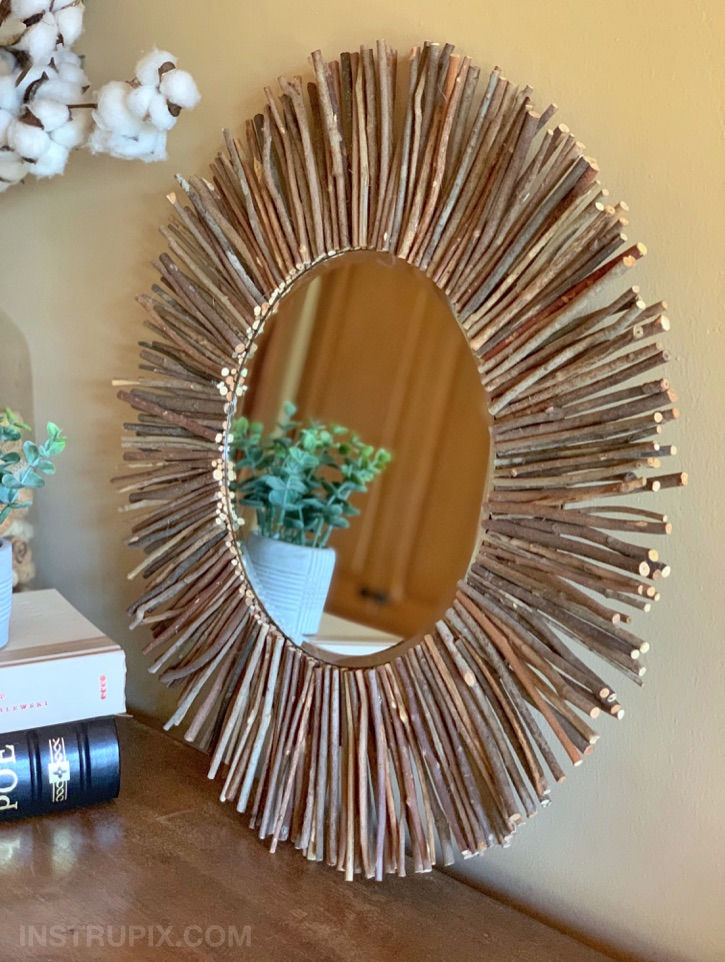
Step Five As you can see from the back, the sticks hung over quite a bit. I was worried that you’d be able to see a line where the cardboard ended, but as long as you cover it well, it’s completely disguised from the front view.
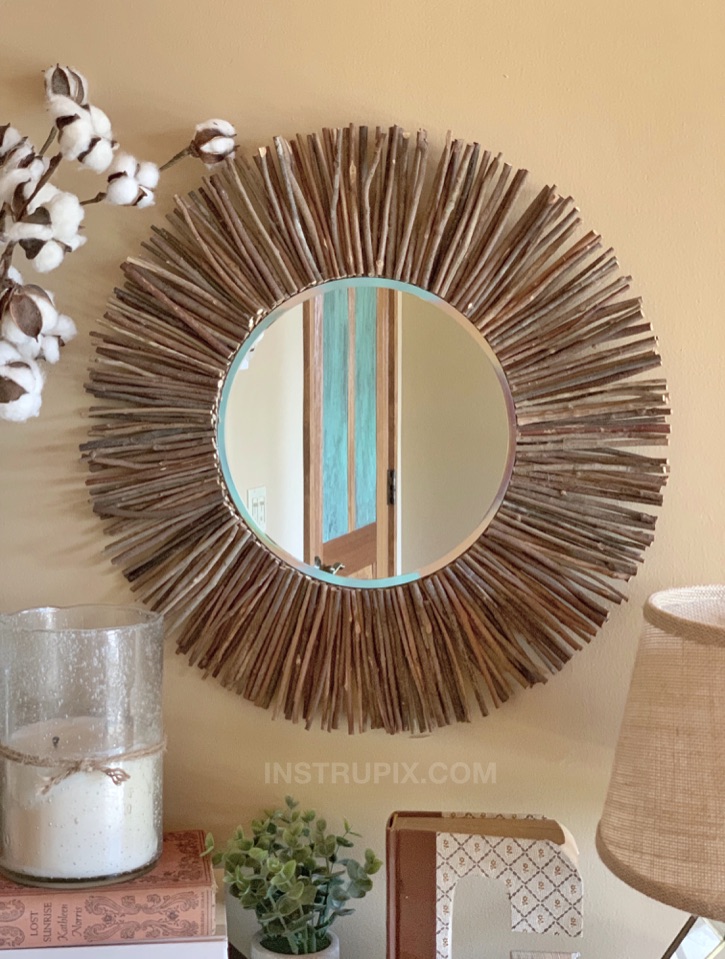
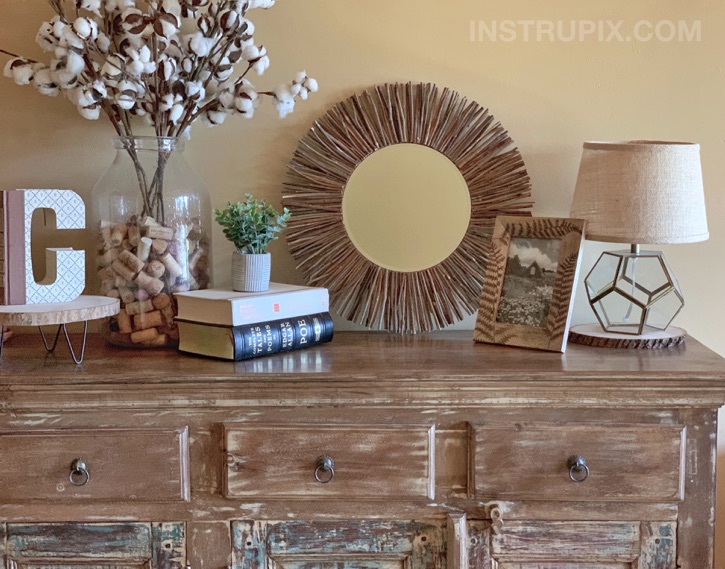
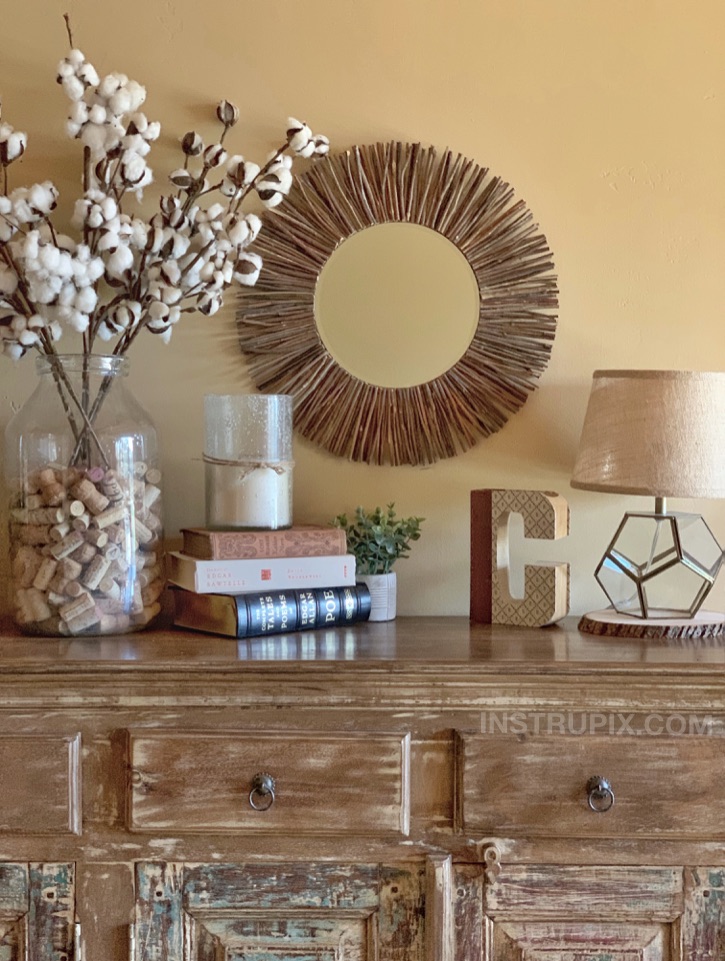
I think this stick mirror looks nice just resting against a wall on a dresser, entry table or fireplace mantel, so there’s no need to hang it if you don’t want to!
If you decide to turn this mirror into wall art, simply use these picture hanging command strips. You can find them just about everywhere: Home Depot, Hobby Lobby, Walmart, Amazon, etc…
I ultimately decided to hang mine in my bedroom above my dresser. I have tall ceilings so it seemed to fit the space a little better on the wall rather than resting on the dresser.
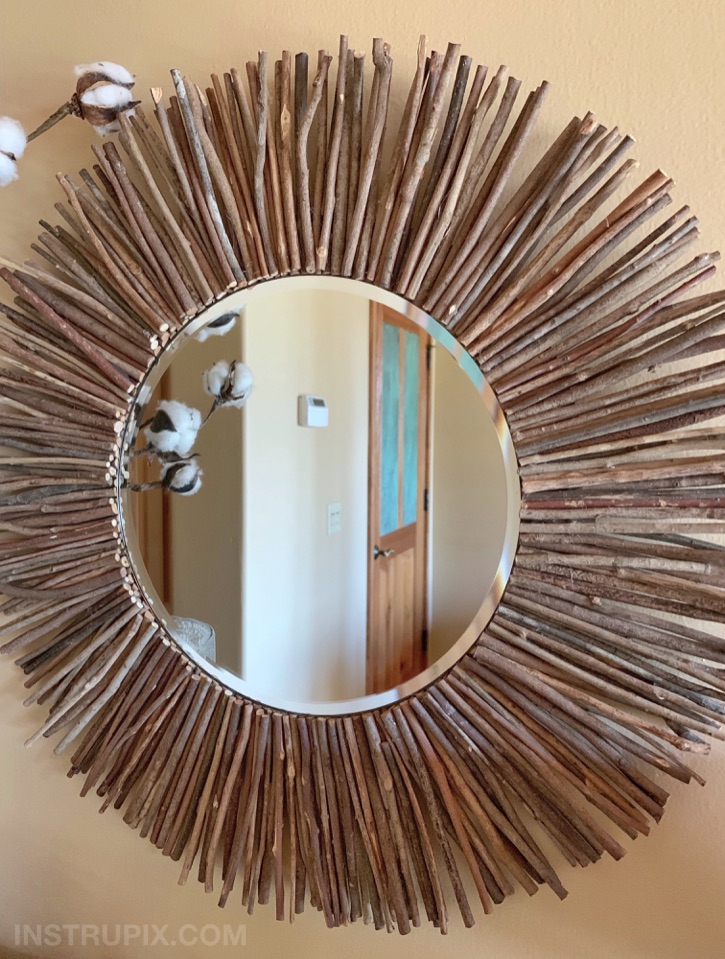
Let me tell you, it’s NOT easy taking pictures of mirrors! I had to be creative with my camera in order not to be in them. If you look closely, you can see the edge of my phone in one of the images above. Oops.
Cheap & Easy DIY Wall Art Idea Anyone Can Make
Don’t forget to pin and save for later! 🙂
